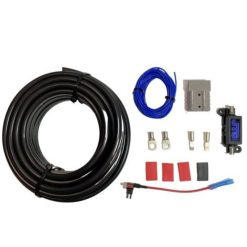
Wiring up a Nissan Navara a DC to DC Charger system can be rather straight forward. Modern vehicle are both Low Voltage and Temperature compensating. This means the vehicle can at times power down the alternator switching off standard alternators and DC Chargers.
The best way to handle dual battery charge in new vehicles is with an ignition switched DC Charger. In this guide we will step you through the fitting of a JTS Ute Back box with IGN override. These instructions can easily be adapted to most dual battery systems.
The accessories socket found in the tub of the Navara is a constant power source. Running a fridge of this socket when parked up will drain your starting battery.
To purchase the cable kit for this vehicle & article, please visit the link below to get the correct kit.
Cable Kits

Crimp the blue wire to the JTS Navara fuse adaptor. Remove the 10amp fuse identified above and replace into the jumper.
Finding an ignition source on your Navara
It is extremely important that you check the fuse as it can change with vehicle updates and model changes. The images within this article are only a guide and vehicle manufacturers can change the position or use of the fuses. Please use a multimeter to check prior to removing.
Please ensure the ignition is turned off and the keys are removed from the vehicle before performing any electrical work
Remove the glove box to expose the internal fuse block. On the bottom left hand corner of this Navara is the IGN Accessories fuse. This is clearly identified on the fuse description panel. As fuses can move between vehicle models and years it is important to cross check you fuse against the location diagram on the back of the glove box. From the engine bay identify the small wiring grommet. Pass a firm non metal strip through this grommet, once through into the vehicles cabin attach the blue wire and pull through. Crimp the blue wire to the JTS Navara fuse adaptor. Remove the 10amp fuse identified above and replace into the jumper.
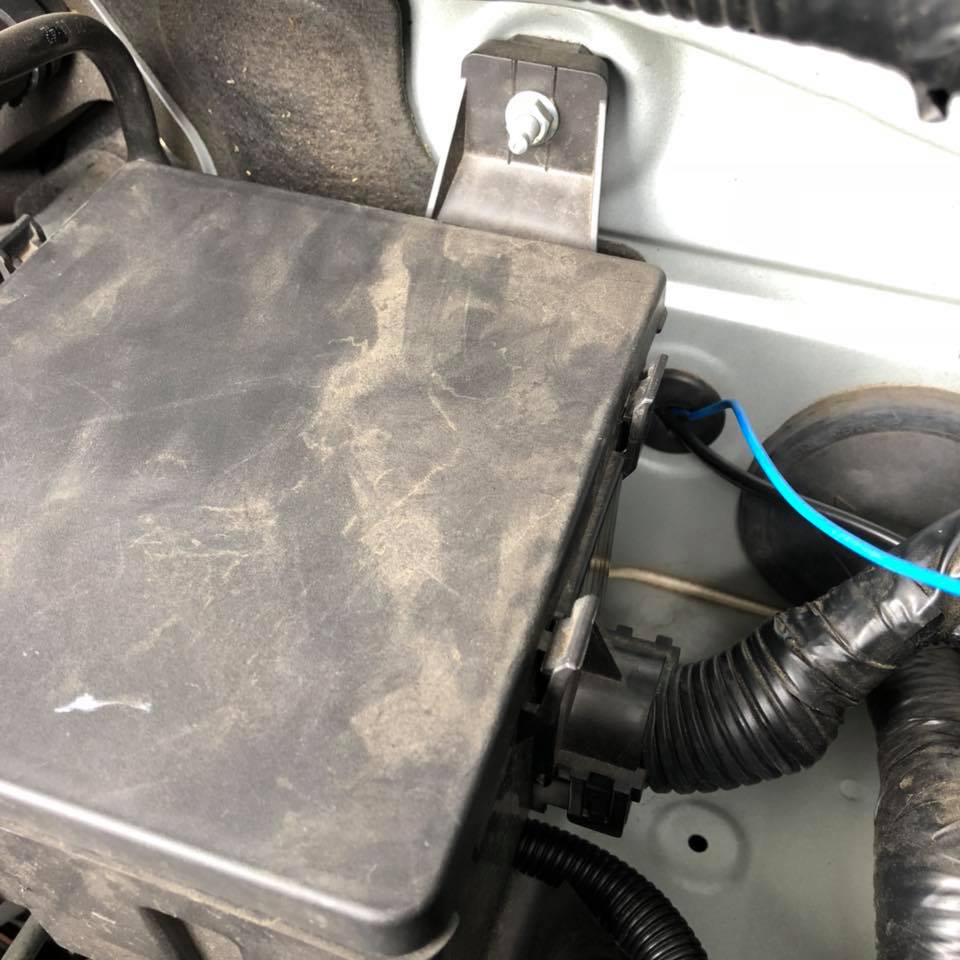
In the engine bay you will now have roughly 6m of blue wire, leave this asside until ready.
Grab the supplied 8 B&S cable and 13mm split tubing. feed the 8 B&S Cable and the left over ignition wire into the split tubing starting from the end of the cable. Once done feed the wiring down the LH side of the engine bay and run along the cable along the chassis to the back of the cab. In the front of the tub you will notice a wiring grommet. Use this to feed the cable through into the tub. Leave yourself roughly 1.5 m sticking through. Remember to silicon up the grommet once the exact length of cable is determined.
To get longevity from your dual battery system, having the correct wire gauge & components is key. Here is the cable kit which we recommend for the job.
Cable Kits
Specific to the original Navara JTS Ute Back System:
The Navara DIY Ute back system is supplied with the required mounting brackets and hardware to complete the job.
Fit the side mounting bracket to your Ute Back tub

Mark the location of the bracket
Place the uteback into the tub to mark the location of the bracket, once marked remove the bracket from the Power Easy Uteback and fix in-place with the two Tek Screw’s. While the tub is in place check the length of the supply cable to ensure it reaches the Anderson Plug and Blue switch plug on the Power Easy. Fit the Anderson plug to the cable and crimp on the supplied Genuine Anderson Plug. It is recommended to seal the tub wiring grommet at this point. https://youtu.be/6IjG6-PxNBs Remove the blanking cap from the floor of the rear tub to reveal the mounting hole for the front bolt.

Move the JTS Ute back into place, Fit your Deep Cycle battery and connect the positive and negative wires. Secure the side bracket and bolt the front of the box down.
Be sure to loop around the RS Strap before bolting the box into place. The RS Strap will secure your battery when fitted.
Now that the Ute Back Power Easy is installed it is time to connect up the Midi Fuse for the main power supply Find a suitable location for the Midi Fuse Holder, On the Navara NP300 D23 there is space directly behind the battery. Measure back along your cable run, enough cable from engine bay the Fuse Holder. Mark this spot on the 8 B&S Twin sheath. From the front of the cable the battery split the sheath back to your marked point. Keep the earth cable asside for the moment.
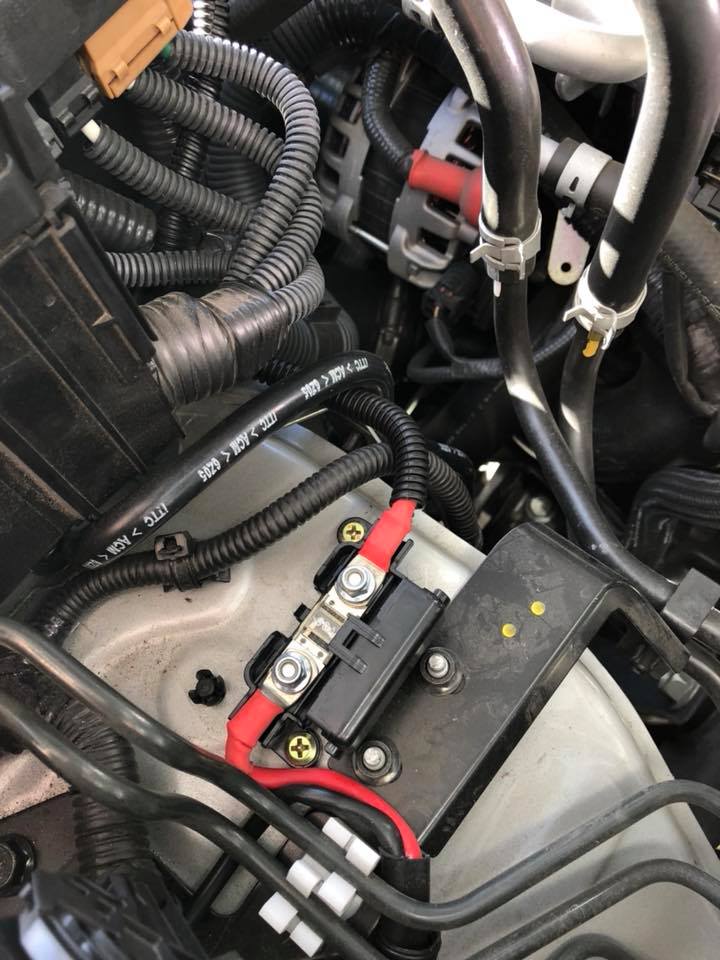
Re-test your cable length and cut, fit the supplied cable lug. Measure the correct length of cable to comfortable reach the positive post of the battery, crimp lugs in place and fit the cable, Fit the midi fuse holder end first and the positive battery terminal second. Once you are happy with the wiring in place, secure your midi fuse holder.
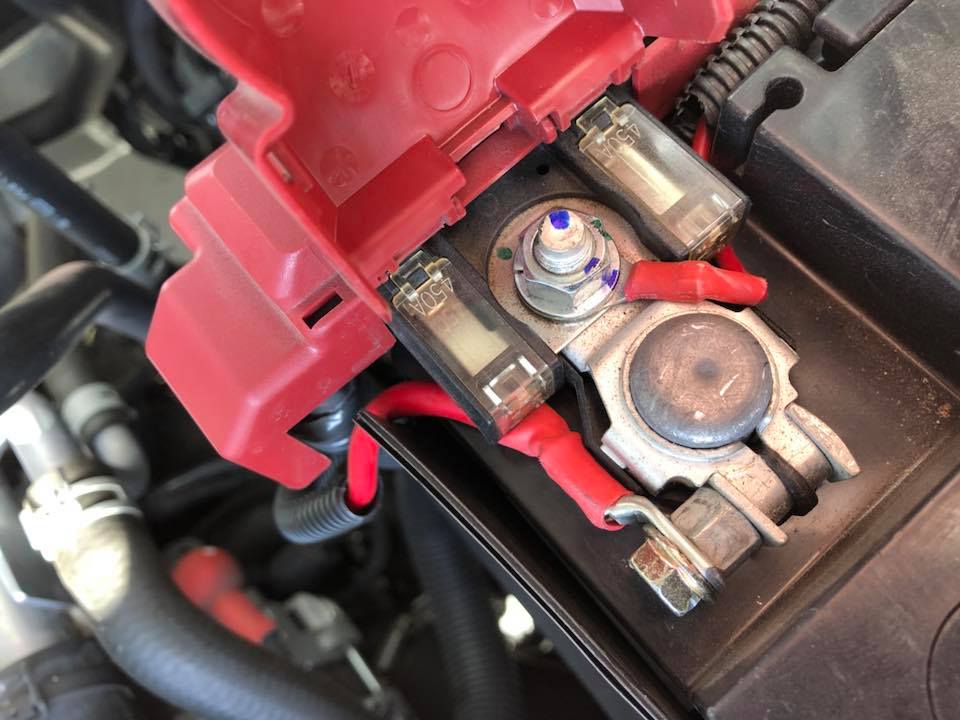
Measure a comfortable length for the earth cable to reach the battery chassis earth. This is the earth point that directly connects the battery to the body. Using this point will help the smart alternator detect the load of the BCDC Charger.

Once all your wiring is in place fit the Midi Fuse to the holder and close the cover. Now the fuse is connected you can plug in the Anderson Plug and quick connector on the blue wire. Your dual battery system should now be fully operational. Start the vehicle and check the volt meter of your JTS Power Easy box or Ute Back to see the charger activate. If you have any questions about the installation please call the team on 1300377128
Here is the Cable Kit we have used within this vehicle & article? Kits are built daily ready to be sent daily. Link is below.
Cable Kits
