12 Volt Technical Articles, 4wd How To Articles, Wiring Diagrams
How to wire up a Dual Battery for a Toyota Hilux
Is my Toyota Hilux a Low Voltage System?
At the time of this publication the Toyota Hilux was not a “smart” Low Voltage alternator. Although it is temperature compensating the system does not regularly run at low voltage. You can check if you current model Hilux is low voltage by looking at the earth terminal.
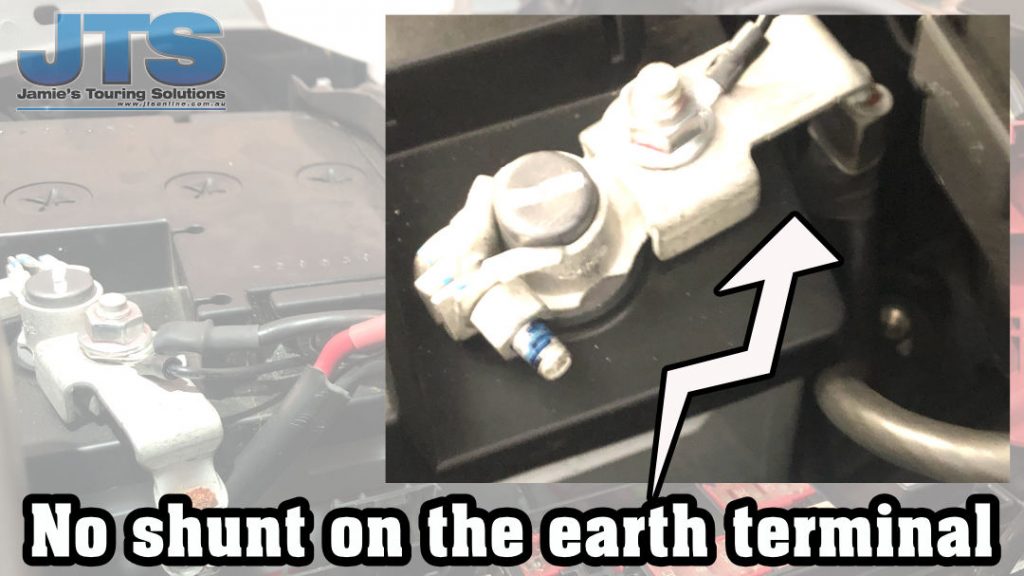
If there is no Shunt (fancy gadget) between the terminal and the body earth then you are good to go. If your vehicle does have a shunt on the terminal please call the team on 1300 377 128 to get the latest update.
Do you have a cable kit?
Work from front to back
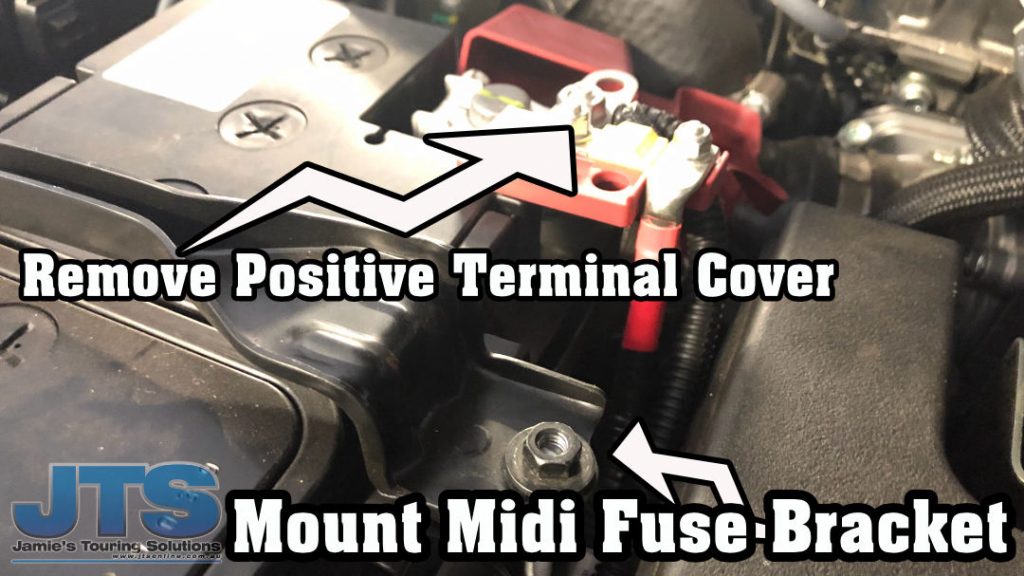
Remove the Positive battery cover to give you access. Before you assemble the harness snake the cable behind the fuse box up to the battery for a neat finish.
Assemble the JTS Cable Kit
In the JTS cable kit is the midi fuse holder with a small red cable. Fit the cable to one end of the fuse holder (small lug) [IMPORTANT: Do not fit the fuse yet] and the red cable on the 7m cable run to the other side.
Grab the JTS Midi fuse bracket, this will fit onto the battery hold down clamp. Once the bracket is fitted you can mount the midi fuse holder and connect the positive cable.
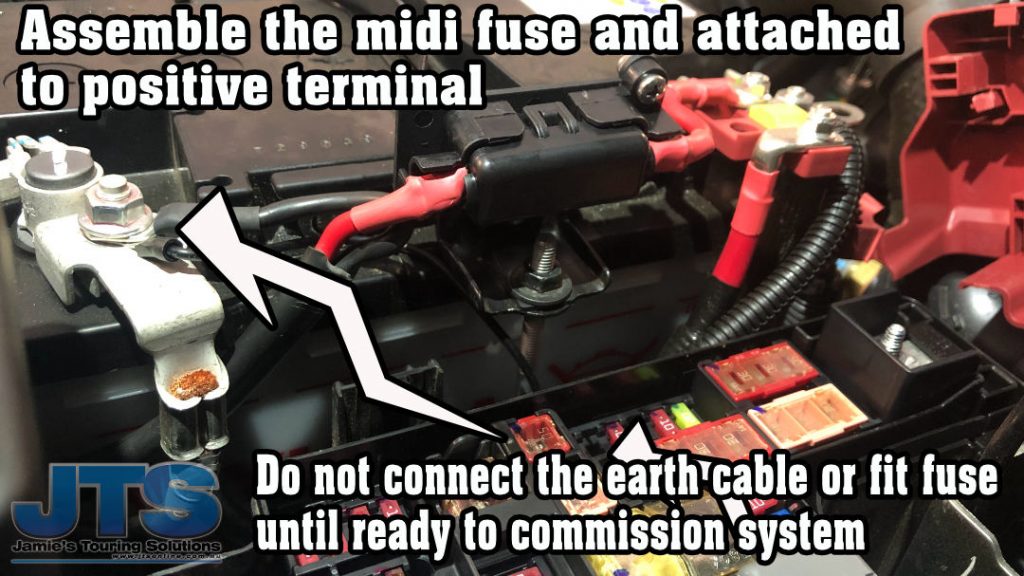
Do not fit the earth cable just yet, the earth cable and the fuse will be fitted in the final step when the system is ready to be commissioned.
Run your Cable Under the Hilux
Slide the 8 B&S twin core cable into the split tubing (sold separately) ready to run down past the chassis to the rear of the Hilux. Run the cable down past the firewall and under the ute.
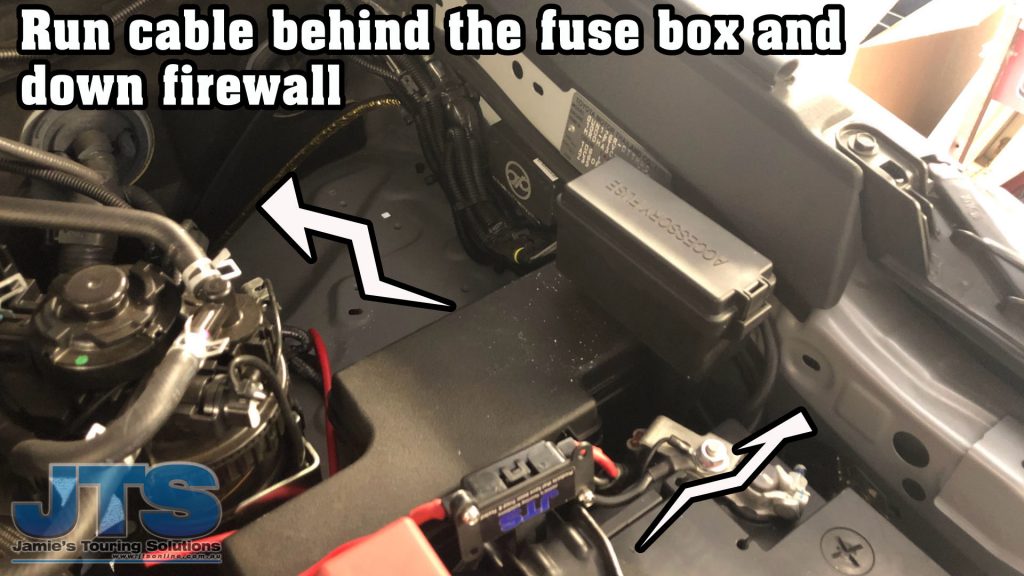
Zip tie the cable as you go to the existing brackets and wiring loom, when you reach the fuel tank you will feed the cable over the top of the tank and out the back of the ute.
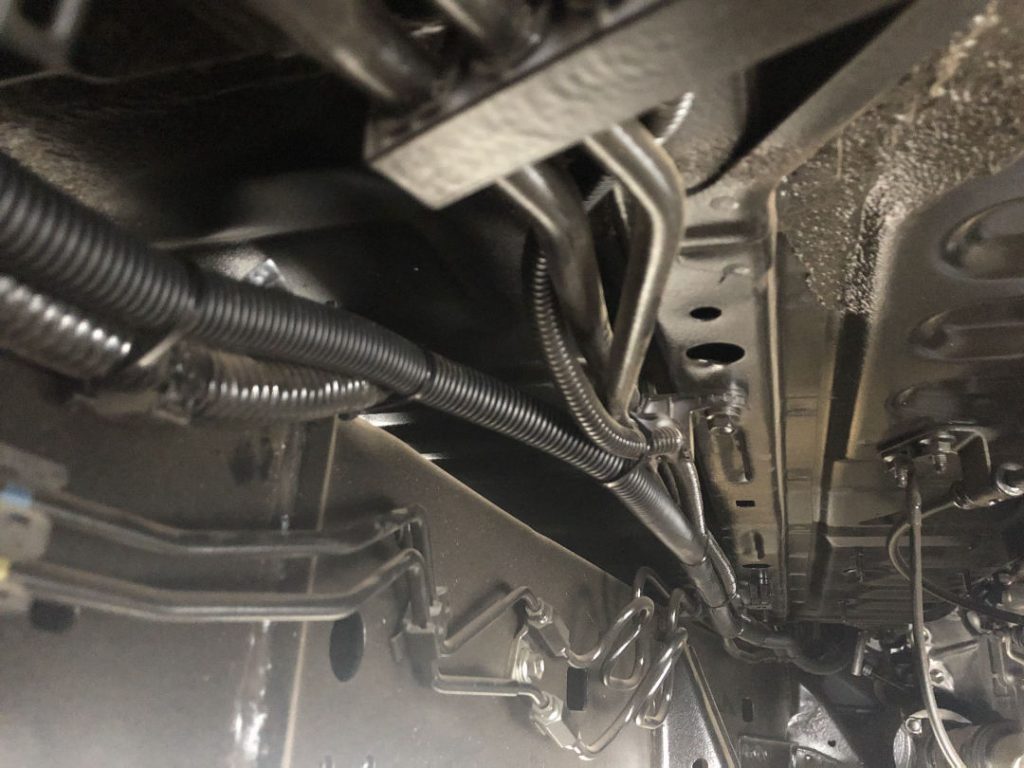
Now you should have the cable successfully fed through under the ute and coiled up on the LH side below the tail light.
Removing the Tail Light (optional)
Removing the rear tail light will make feeding the cable up easier but it is not neccessary. Inside the tub above tail light section is a cavity, You can drop a cable snake or some old wire down here an pull the cable back up through.
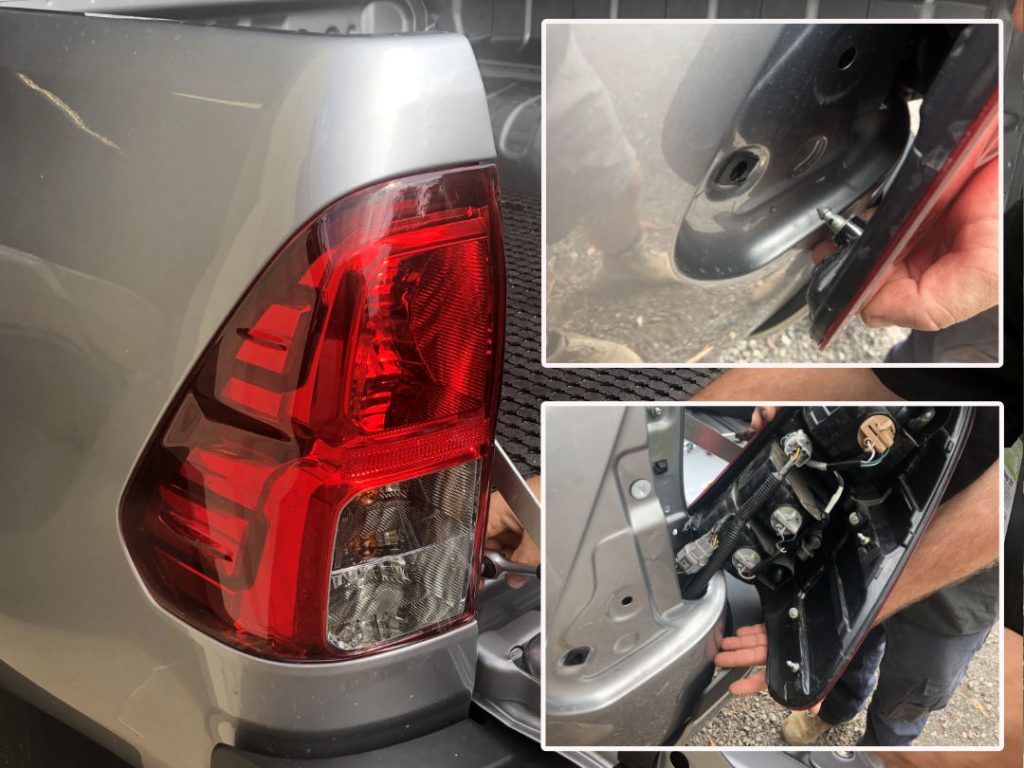
To remove the tail light:
Remove the two bolts on the tailgate side of the tail light. Gently pry the tail light loose and then in a twisting motion “pop” the tail light out of the retaining lugs (see photo above)
With the tail light removed you can feed the cable up through a cavity beside the tail light and back down through the tub mentioned above.
When the cable is down you can fit the grey Anderson plug ready for mounting the JTS Power Easy box.
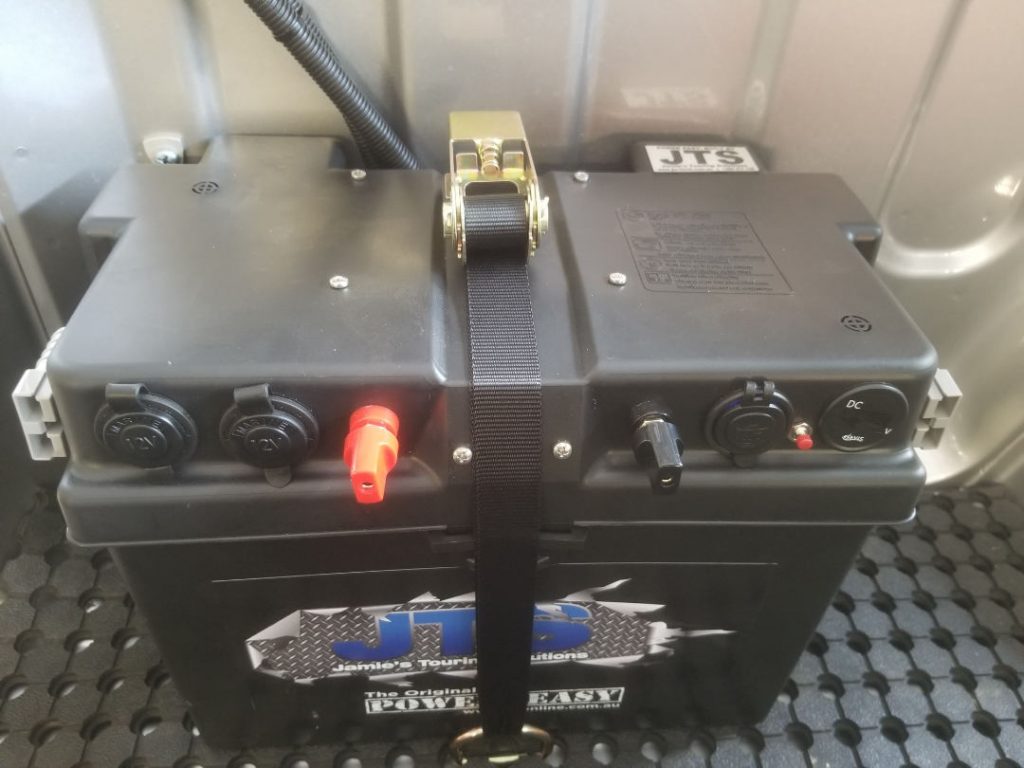
The JTS Power Easy
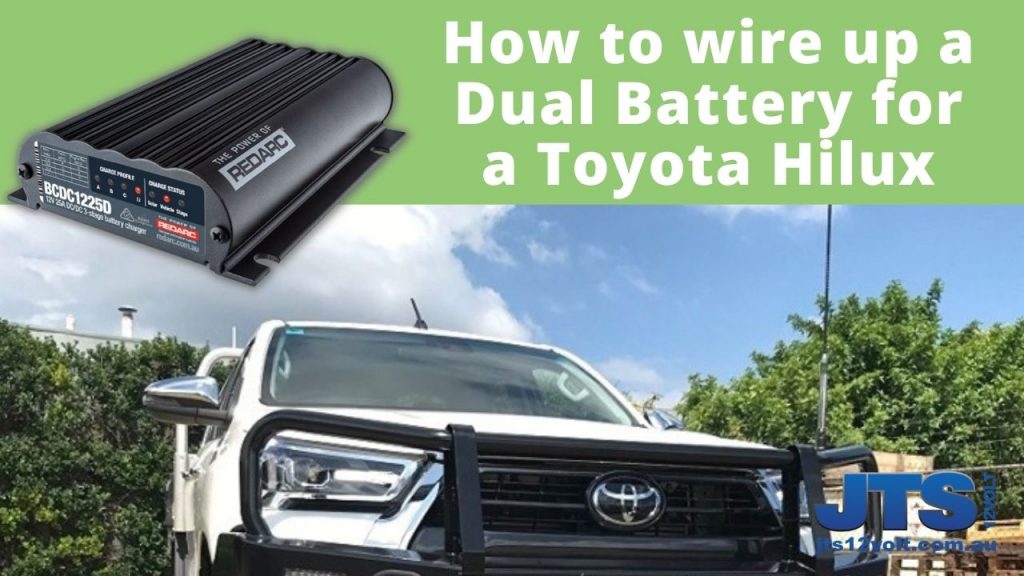
The JTS Power Easy is a great solution for your Toyota Hilux. Powered by the Redarc BCDC1225D it will charge your battery to 100% state of charge, regulate your solar AND is 100% portable making the system flexible and a great long term investment for many vehicles to come.
Securing the Power Easy
The JTS Power Easy system is secured by 2 tie down points to be fitted into the tub. This is a simple process with the instructions below.
Place the Power Easy into the side of the tub in the position you want it to stay. In the centre of the lid you will see a groove, the ratchet strap sits in. Loosely place the tie down points into the best position and mark the floor of the tub with a marker.
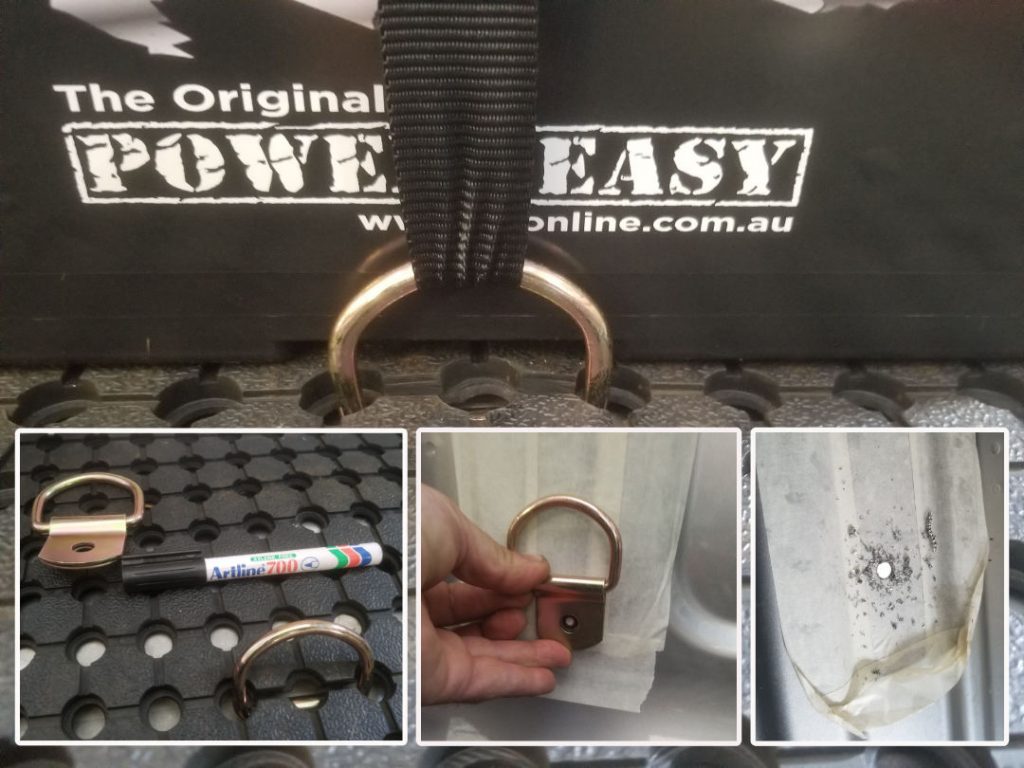
This is the same process with or without a tub liner.
You can either fit both tie down points to the floor of the tub or you can have one in the side wall of the tub. This is a personal preference depending on how tight against the tub wall you want the box mounted.
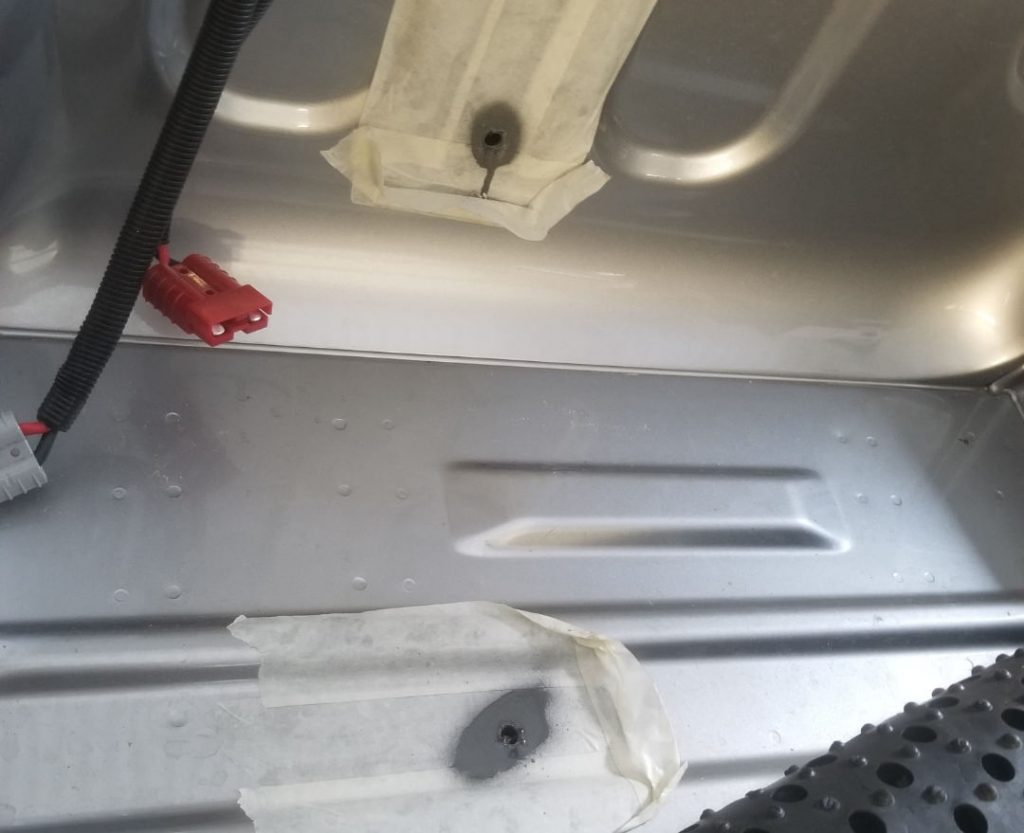
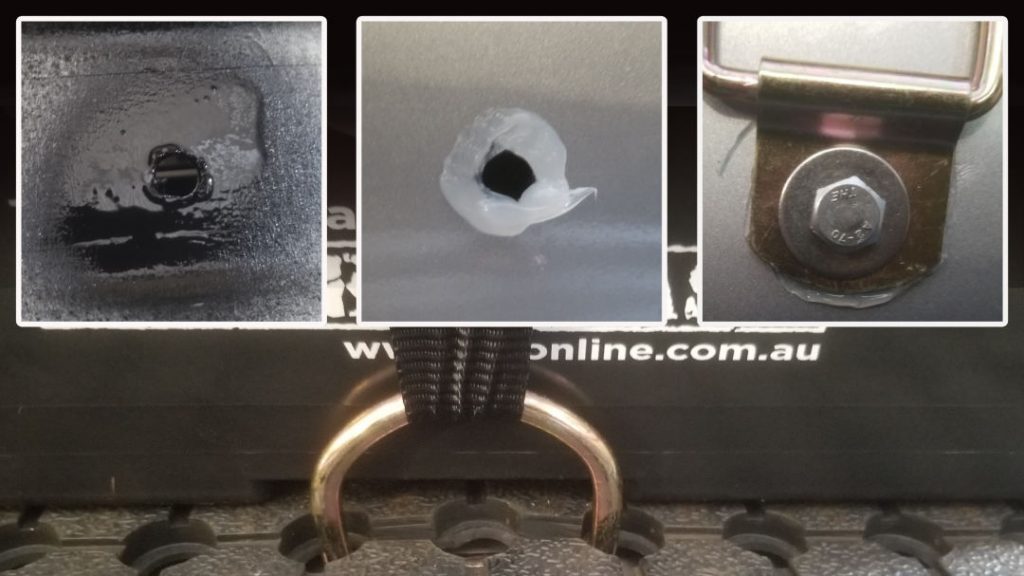
Using masking tape will create a cleaner hole and will collect the swarf making cleanup easier. Be sure to spray the hole to seal up the exposed metal. Once your holes are complete and the tape is removed you can fit the tie down points.
Do you have a cable kit?
Ready to go !!
Now that you have connect the power easy box and strapped it into the Hilux you are ready to comission the system.
Back under the bonnet, first fit the midi fuse into the holder, replace the terminal cover on the positive and now connect the earth cable to the battery terminal.
Start the hilux and check the voltage on the power easy box, you should now see the voltage climb to over 13V as the BCDC kicks in and starts charging.

